Anyone can import a lathe. We build one that's ready to earn its place in the shop.
Prepare for Lifting
Prepare for Lifting
Prepare for Lifting

The machine is secured to the shipping pallet using four (4) M14 transport bolts.
These bolts are accessible from inside the motor cabinet and tool cabinet
Before lifting:
- Open the motor cabinet and tool cabinet
- Remove the two transport bolts securing the machine to the pallet.
- Confirm all packaging and restraints have been removed.
Motor cabinet
Prepare for Lifting
Prepare for Lifting
- Accessing the rear bolt is more difficult, use an extension for your impact wrench.
- Someone may have to assist you and hold the nut with a socket wrench on the bottom of the pallet
Tool cabinet
Prepare for Lifting
- Remove the tooling and toolbox from the cabinet
- Remove the wooden base from the bottom
- On the right you will find the other two bolts holding the palette in place
Lift the Lathe

Lift the machine using lifting slings exactly as shown in the machine manual.
Important lifting notes:
- Cross the sling at the lift point.
- Lift slowly and evenly.
- Never stand under a suspended load.
Once clear of the pallet:
- Remove the pallet.
- Lower the machine onto 4×4 wooden blocks or position it using a pallet jack..
Lifting tips
- When lifting the lathe, the center of mass is just slightly over the spindle nose.
- Place a rag, cardboard, or protective material under the sling at all four contact points to avoid paint damage.
Install the Leveling Pucks
A set of leveling pucks is supplied with the machine.
Installation:
- Thread one puck into each corner of the machine base (4 total).
- Use all four pucks.
- The large lock nuts supplied are not required and can be omitted.
Once installed:
- Move the machine into its final location.
- Perform final leveling as needed.
- Your lathe may have 6 pucks s
Position the Lubrication Oiler
Position the Lubrication Oiler
- Rotate and position the oiler horizontally.
- Secure it using all three socket head cap screws.
- Use a 5 mm Allen wrench..
Install the DRO
Position the Lubrication Oiler
If your machine includes an Acu-Rite DRO:
- The display is packaged separately inside the tool cabinet.
- Mounting instructions are included in the box.
- Click here for detailed directions.
- Install the display before operation.
Electrical Connection
Electrical Connection
Connect power to the electrical cabinet.
Electrical requirements:
- 220 V, 3 Phase
Access:
- Open the cabinet using a 3 mm Allen wrench.
- Connect incoming power to the lower left terminal block marked:
R – S – T – E
(Phase sequence is generally not critical; verify spindle rotation after power-up.)
Electrical connection should be performed by qualified personnel.
Before First Startup
Before First Startup
Electrical Connection
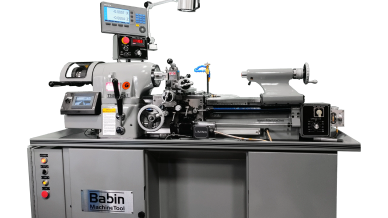
No machine cleaning is required.
The machine is coated with a light protective oil during transport which is compatible with operation.
Before running at maximum spindle speed:
- Start the machine.
- Allow approximately 10–15 minutes of warm-up at ~900 RPM.
- Gradually increase spindle speed.
Your machine was tested and aligned before shipment and it's ready to begin making chips.
Questions during setup? Contact us — we are happy to help.